
How to Create a Gallery Wall
Gallery walls are a creative way to add artwork and other decor in a room. We love using them to add a focal point to a large empty wall or to bring personality into a small space. A gallery wall can fit into any room of the house if designed properly. Today, we are going to walk you through how to create a beautiful gallery wall that will be perfect for your space.
Pick your pieces
The first step in designing a gallery wall is to think about the room and its requirements. What is the purpose of the gallery wall? Are you looking to add visual interest in the room? Fill an empty wall? Hide or camouflage something in the room? Add additional storage? Are you building the gallery around a particular item? Do you want the gallery wall to have a theme?
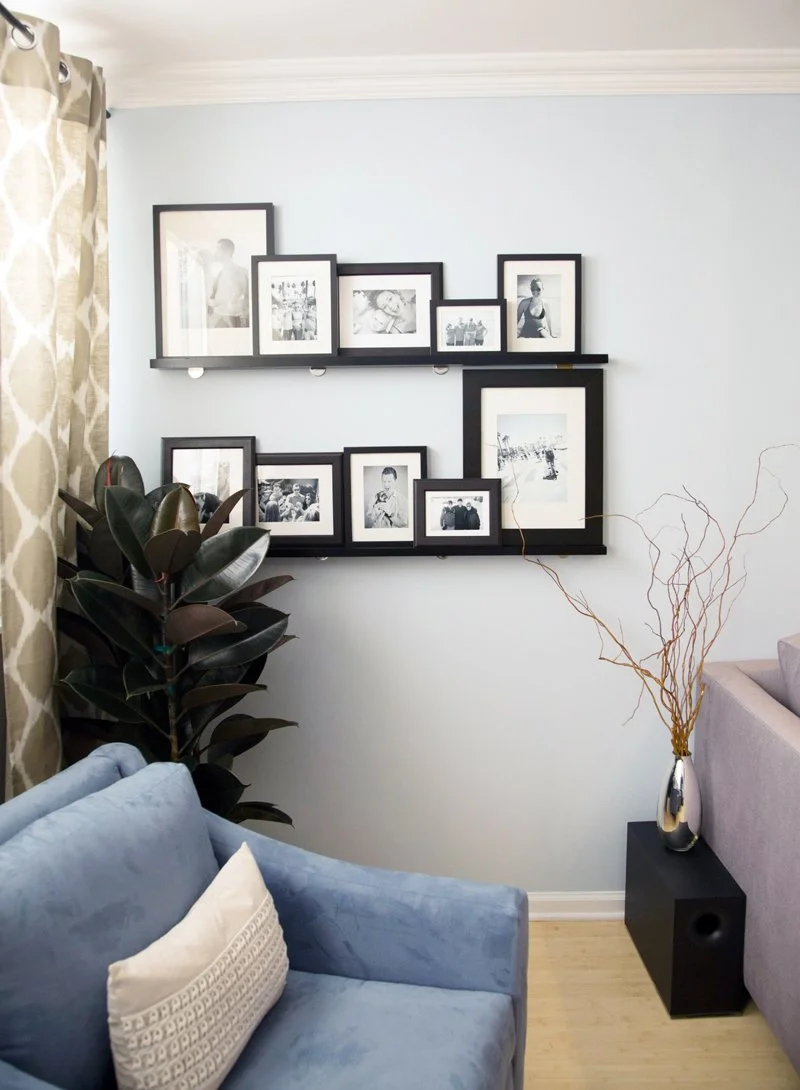
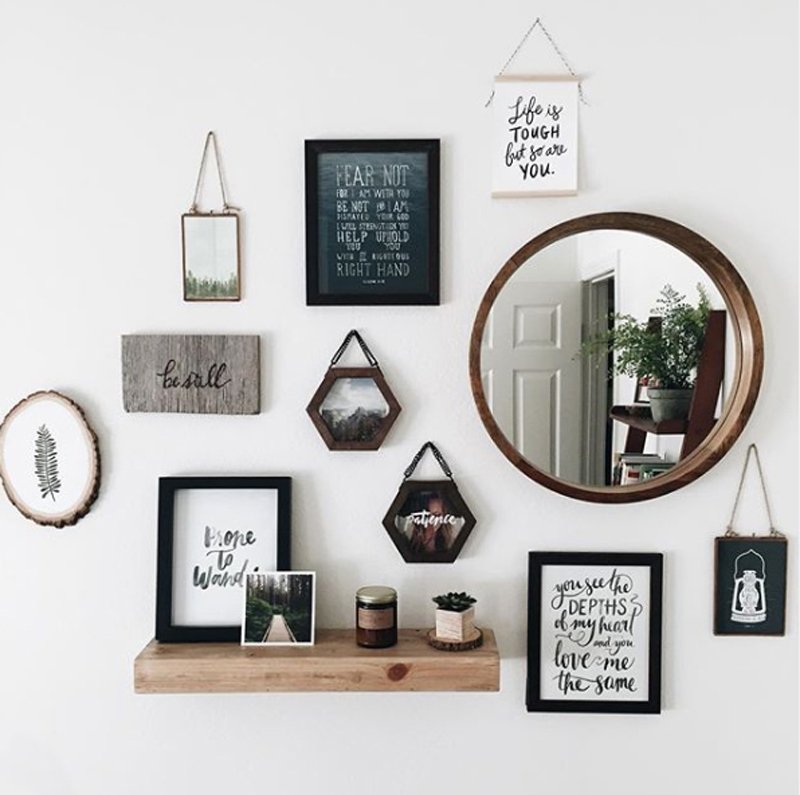
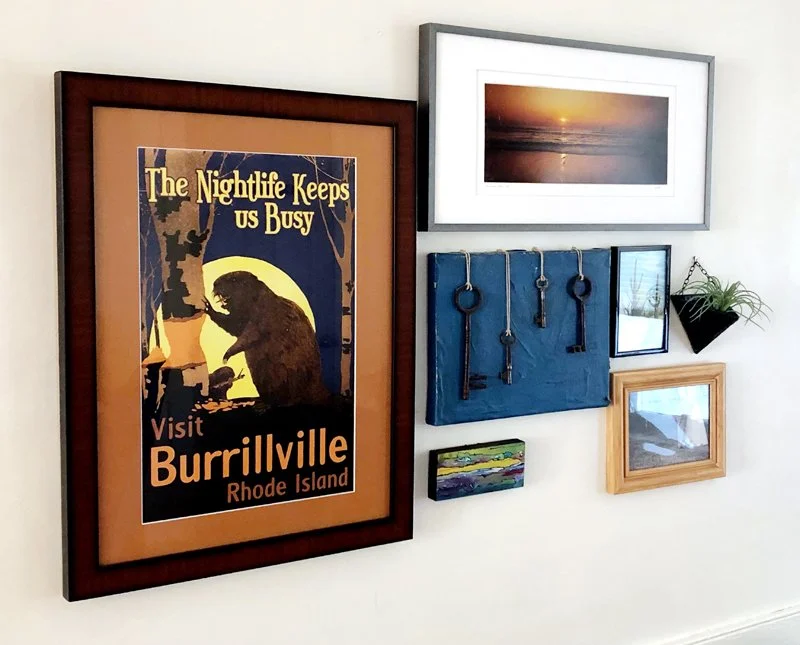
You could add shelves if you are looking for display storage. You could add a mirror if you are hoping to make the room look larger and brighter. You can create a unique display by combining framed art, canvases, wall sculptures, signage, mirrors, shelves, plants, fiber art, etc.
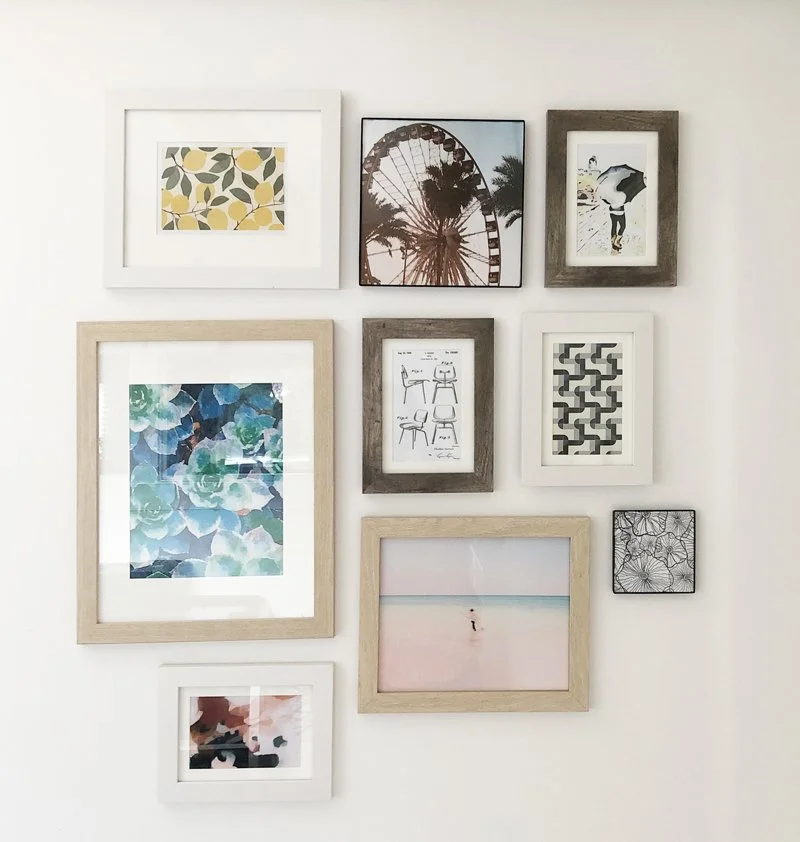
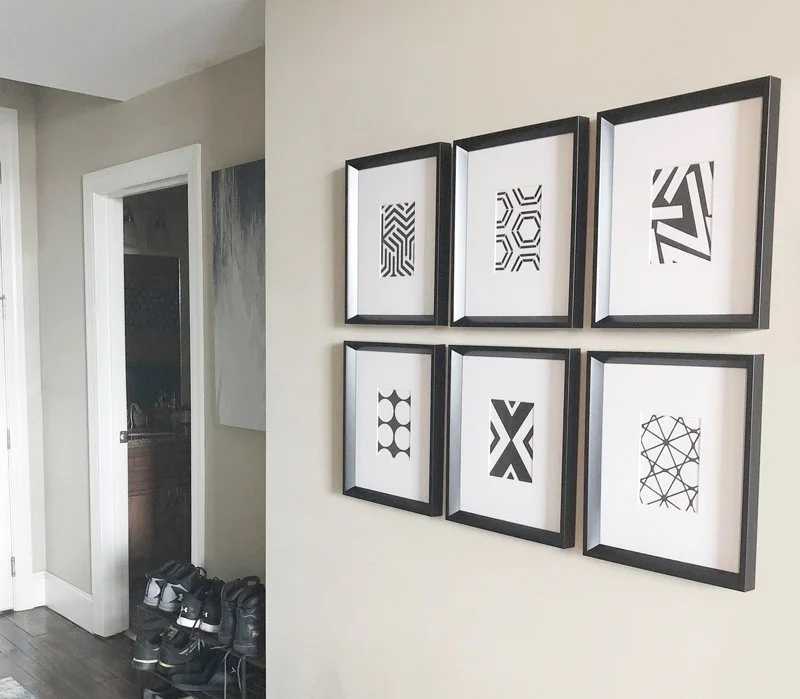
A variety of types of objects, sizes, colors, and textures will create a more eclectic look while choosing pieces that are more uniform will create a streamlined look. If you are designing a gallery wall around one piece you may want to use that piece to inspire the color palette for the entire gallery.
Decide on a layout
Once you decide what to display you need to decide how to arrange it. You can take a look through Instagram and Pinterest for inspiration but then you need to translate those concepts to your exact pieces. To avoid putting lots of extra holes in your walls we recommend that you either draw your plan or lay it out on the floor. Consider the size and shape of each piece as well as the color, pattern, and texture when you are arranging your layout. To keep the eye moving around your display you want to evenly disperse the color, pattern, and texture throughout your display. You can also experiment with the spacing of the pieces. We often space our items with 2”-3” between items – for an eclectic look you can vary the spacing and for a more formal look, you can keep the spacing consistent.

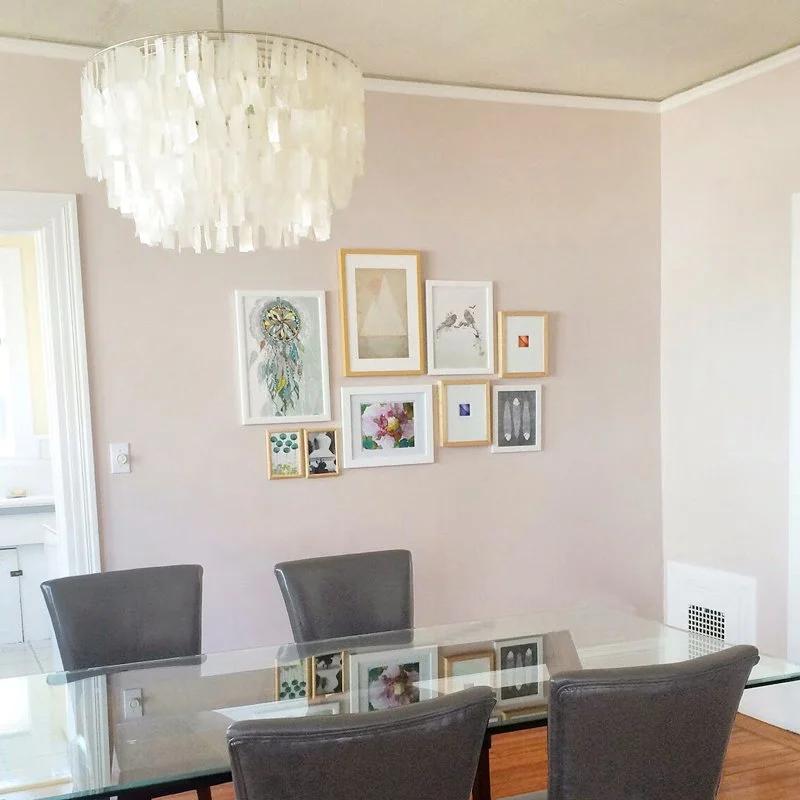
Photo Credit: Pottery Barn
One way to determine the best layout for your display is to sketch it out. First, measure the width and height of the wall. Then measure the width and height of all of the pieces you plan to install. On a sheet of graph paper draw the wall to scale, then on a separate piece of paper draw each item that you want to install at that same scale. (To be sure the wall and objects for the gallery wall are at the same scale assign each square on the graph paper a value, for example 6”). Cut out the shapes of the objects that you plan to install and move them around on your graph paper wall until you come up with a layout that you like. Take pictures of the layouts you like so that you can remember what they look like as you try other options. You could also use software like SketchUp to create the layout virtually.

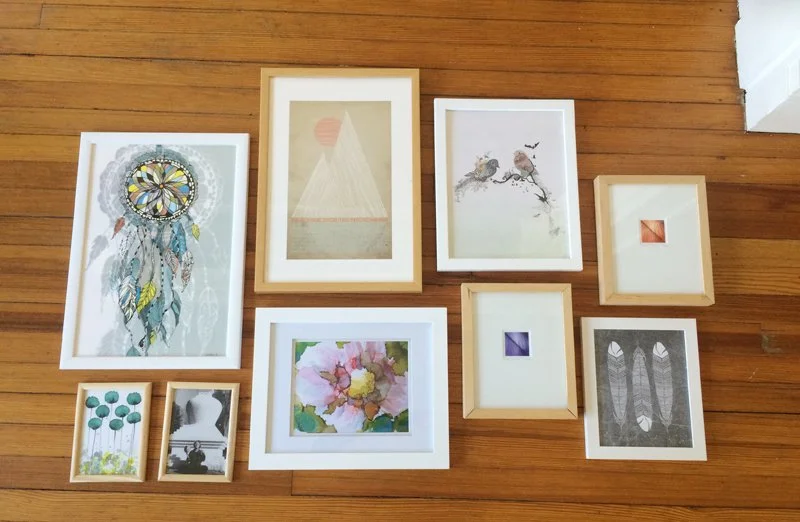
Another way to experiment with your gallery wall design is to lay it out. If you have enough space, you can layout the actual pieces of art on the floor in front of the wall itself. Laying the actual art pieces out allows you to consider pattern and color placement in addition to shape and size. You can also trace each item onto kraft paper and tape them to the wall with painters tape which allows you to see your display vertically and rearrange pieces with ease. If you go the kraft paper method, be sure to also draw where the hanger on the back of each piece is located - this will make the installation very easy.
Installation
Once you have the perfect layout for your gallery wall it is time to install. For installation, you will be following the dimensions from your drawings if you did a graph paper layout. If you used paper mockups on the wall all of the measuring and math is already done – just hammer a nail into the pencil marking for the hanger, rip off the kraft paper and hang up your art.
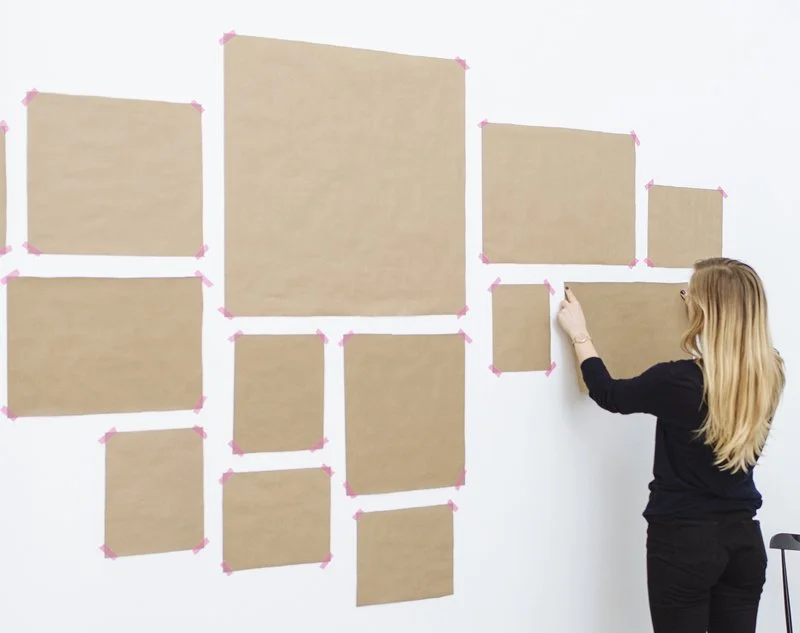
Photo Credit: Mountary
There are a few key measurements to keep in mind when installing your gallery wall. The horizontal center of the gallery wall should be 60” above the floor, this puts the center of your display at eye level. If you are installing a gallery wall over a piece of furniture, such as a sofa or console table, the width of the display should be 2/3 the width of the piece of furniture. As you are installing, remember to step back as you add each new item to the wall. This will help you see your design coming together and make sure each piece is level and properly spaced.
For our clients, we typically do initial layouts in a combination of AutoCAD for size and scale with a Photoshop overlay so that we can also see color and pattern. Then, prior to installation, we do the kraft paper mockup on the wall which makes it really easy to later install the pieces.
We’d love to see your creations. Please share your gallery wall on social media and tag us so we can check out what you guys have created! If you have any questions or if you’d like feedback on your gallery wall design let us know.